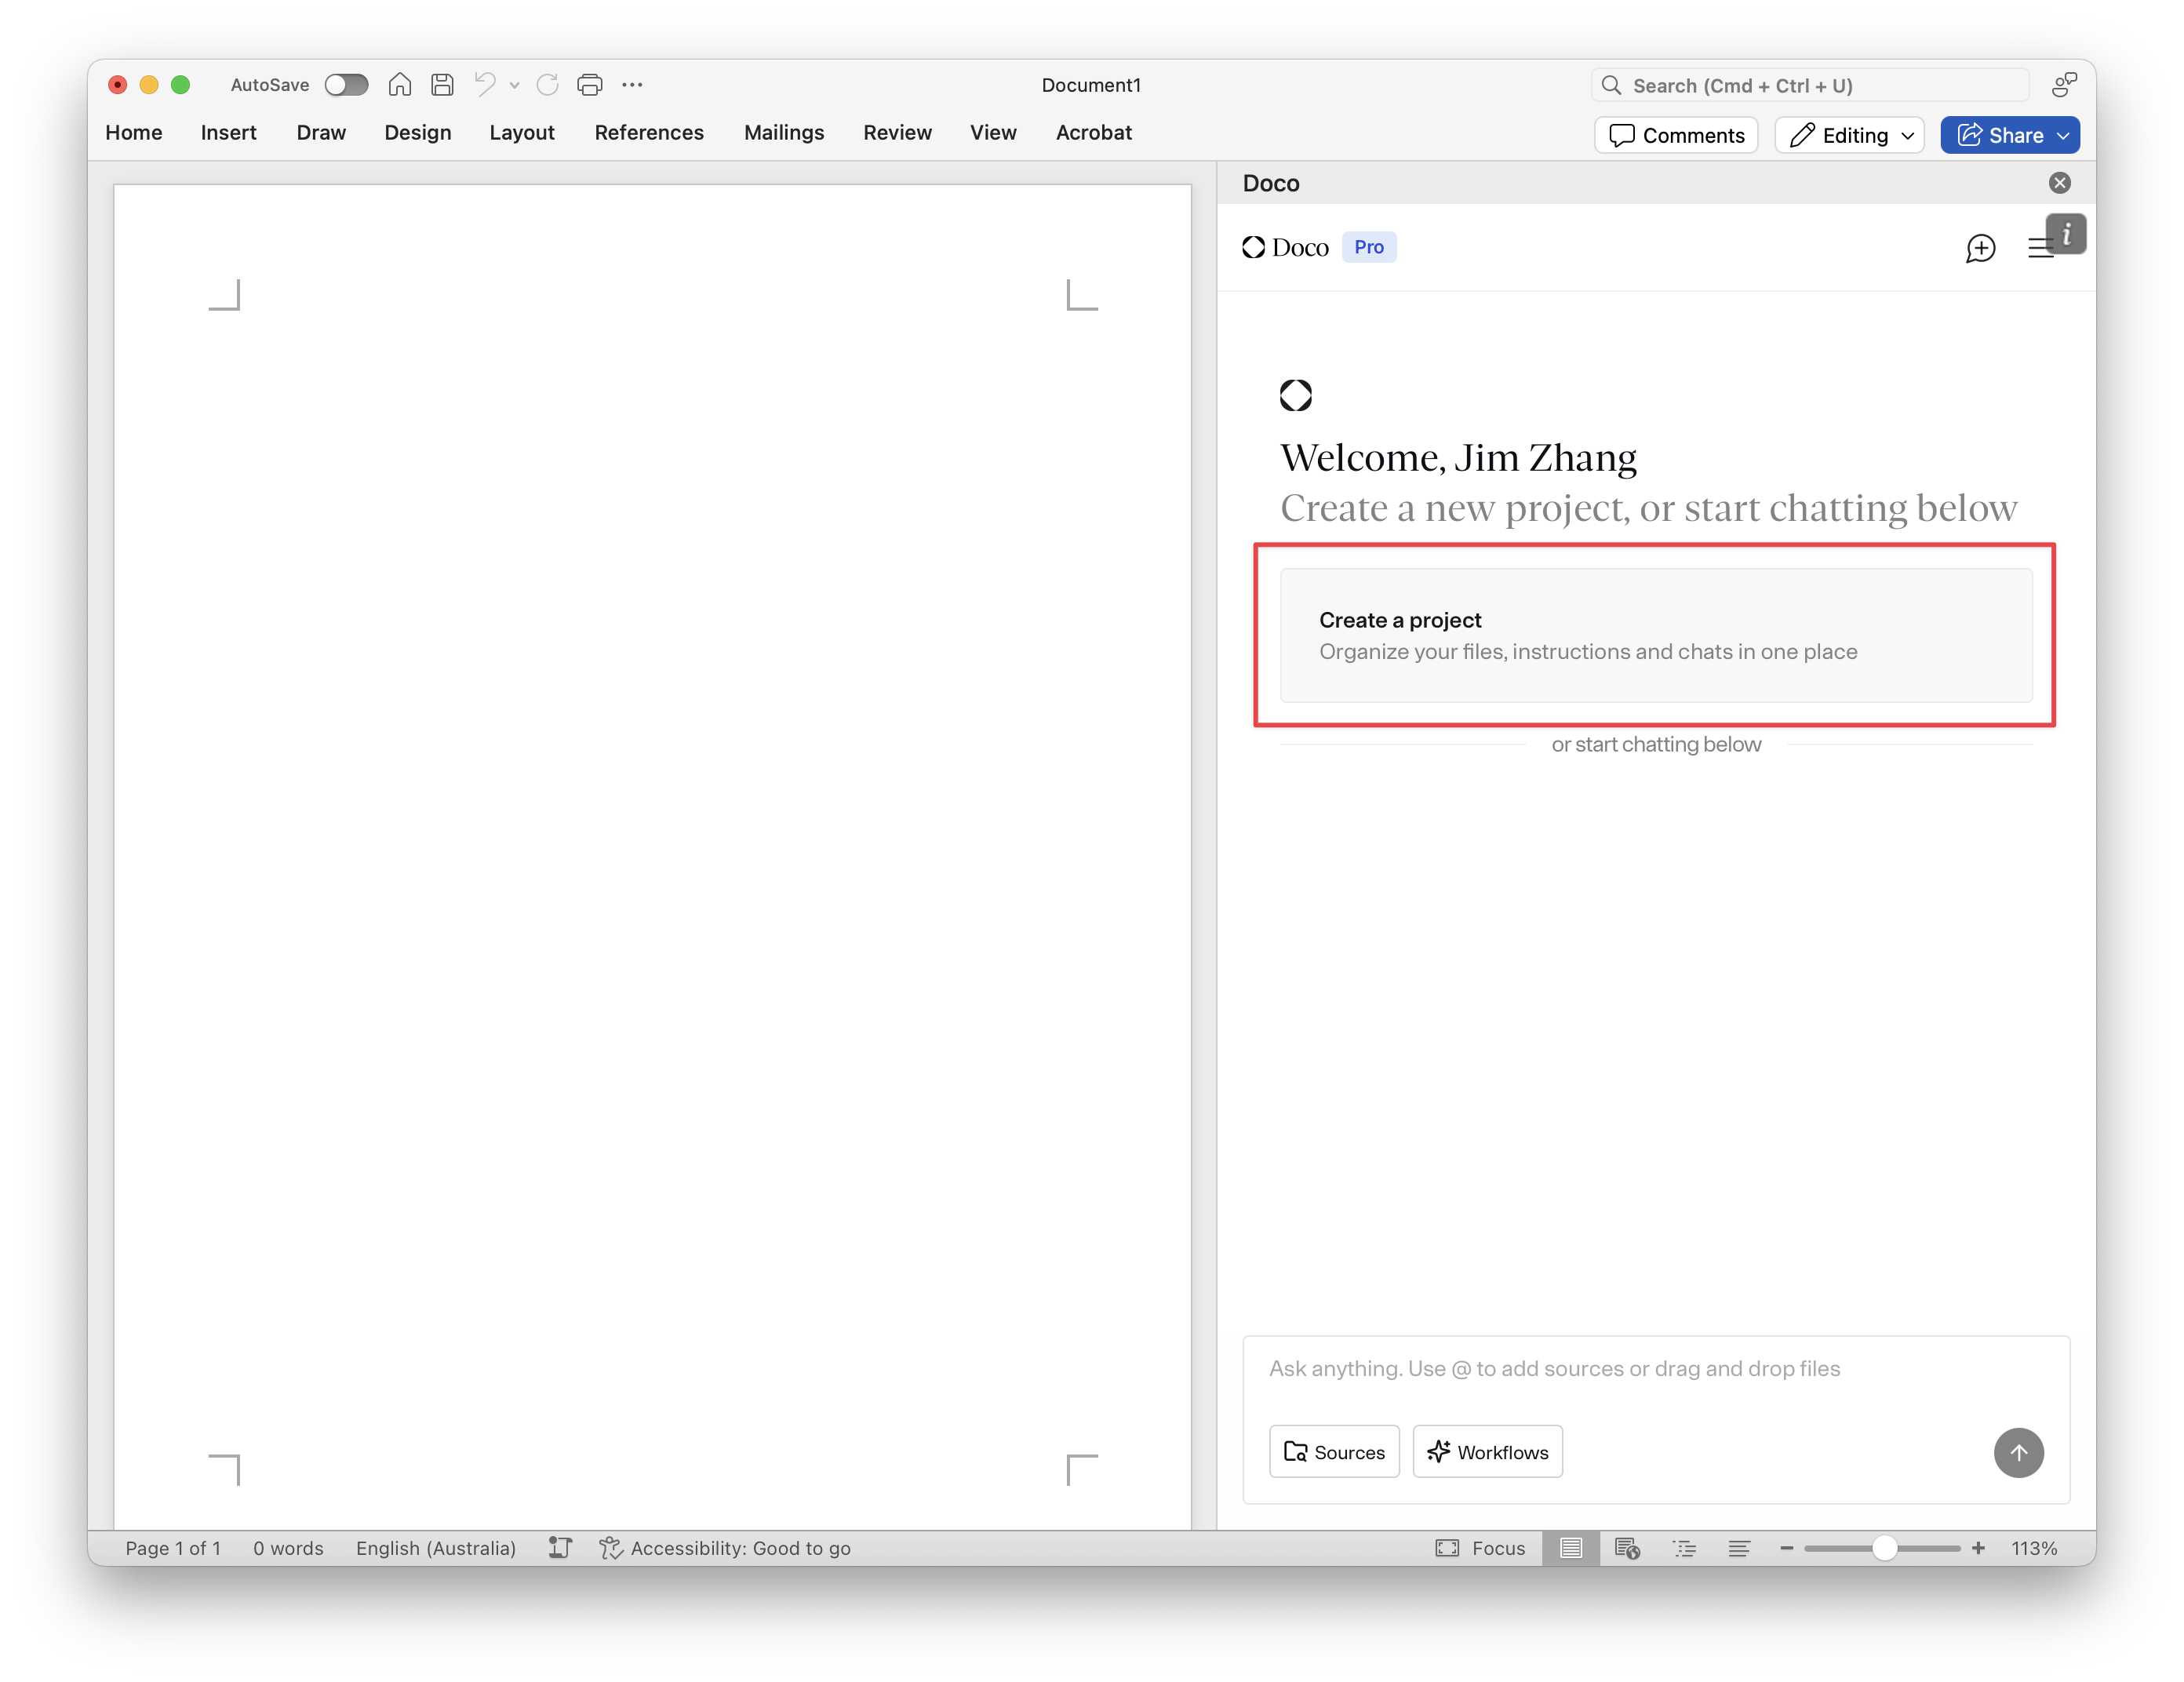
Creating a Custom Project
Custom projects allow you to create a persistent workspace with your own data, instructions, and focus. Ideal for long or repeatable workflows where multiple chats are expected, like proposals, policies, or contracts.
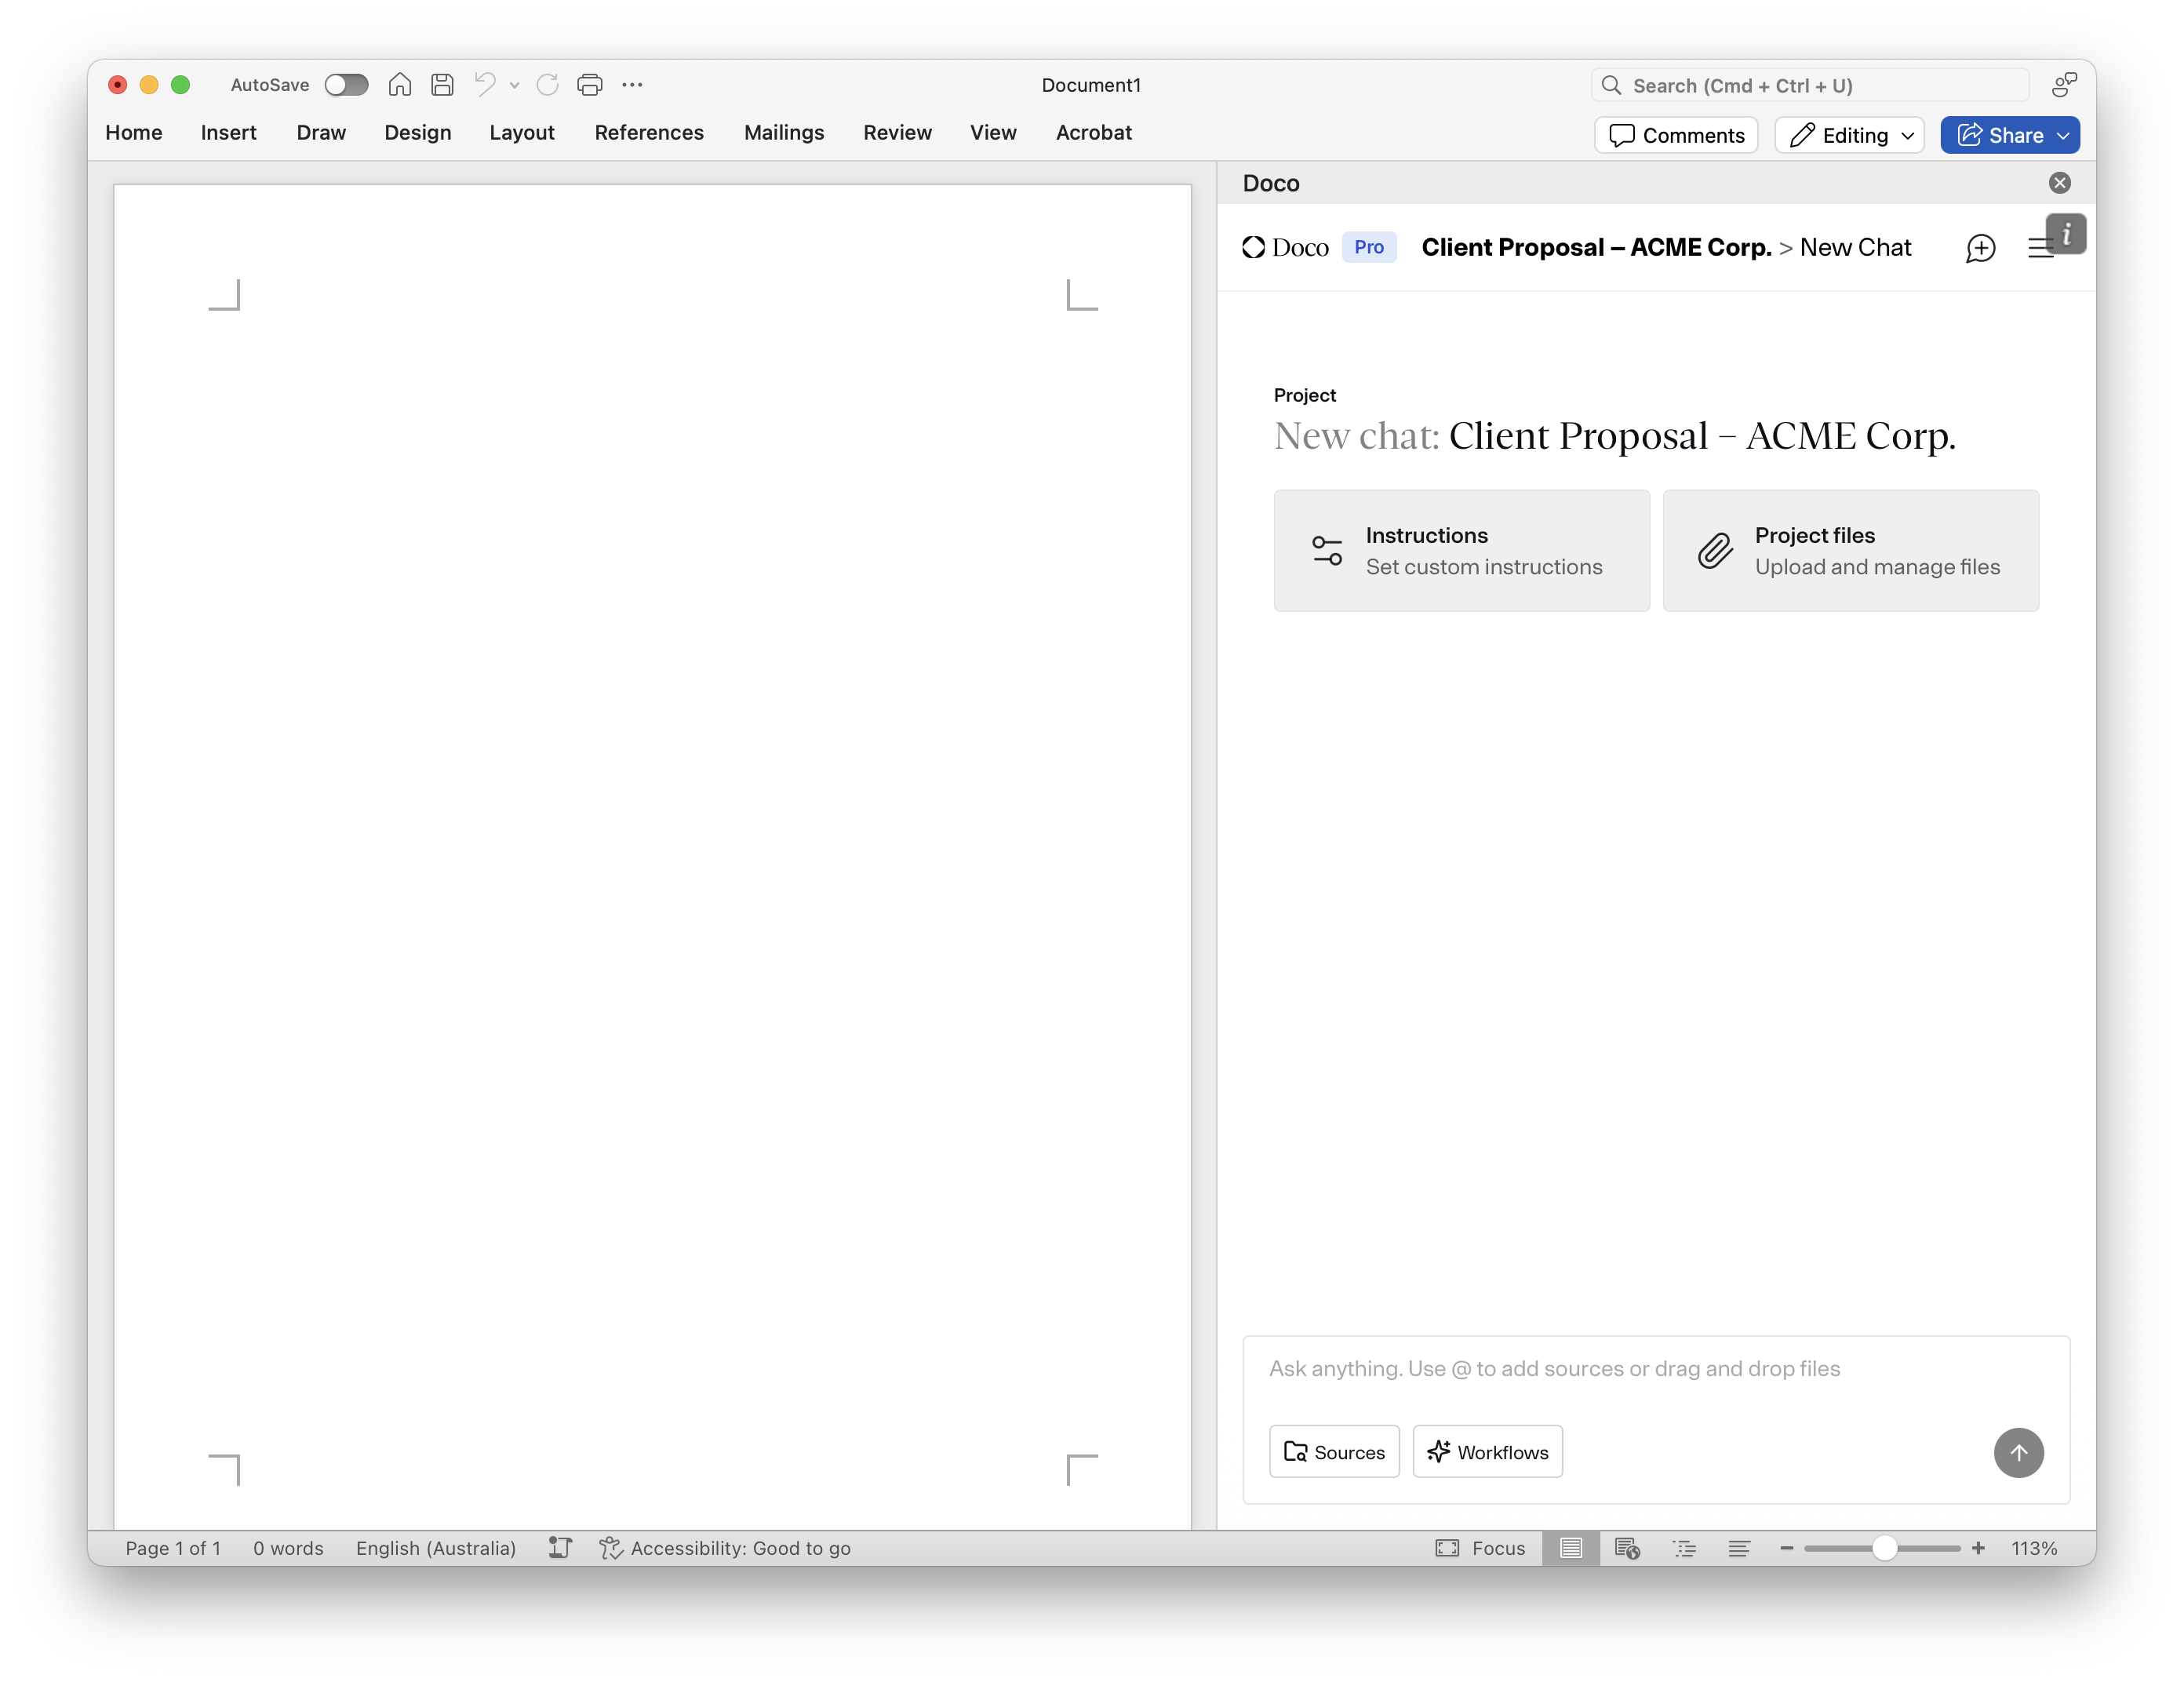
Creating a project
-
Click “Create a project” on the welcome screen.
-
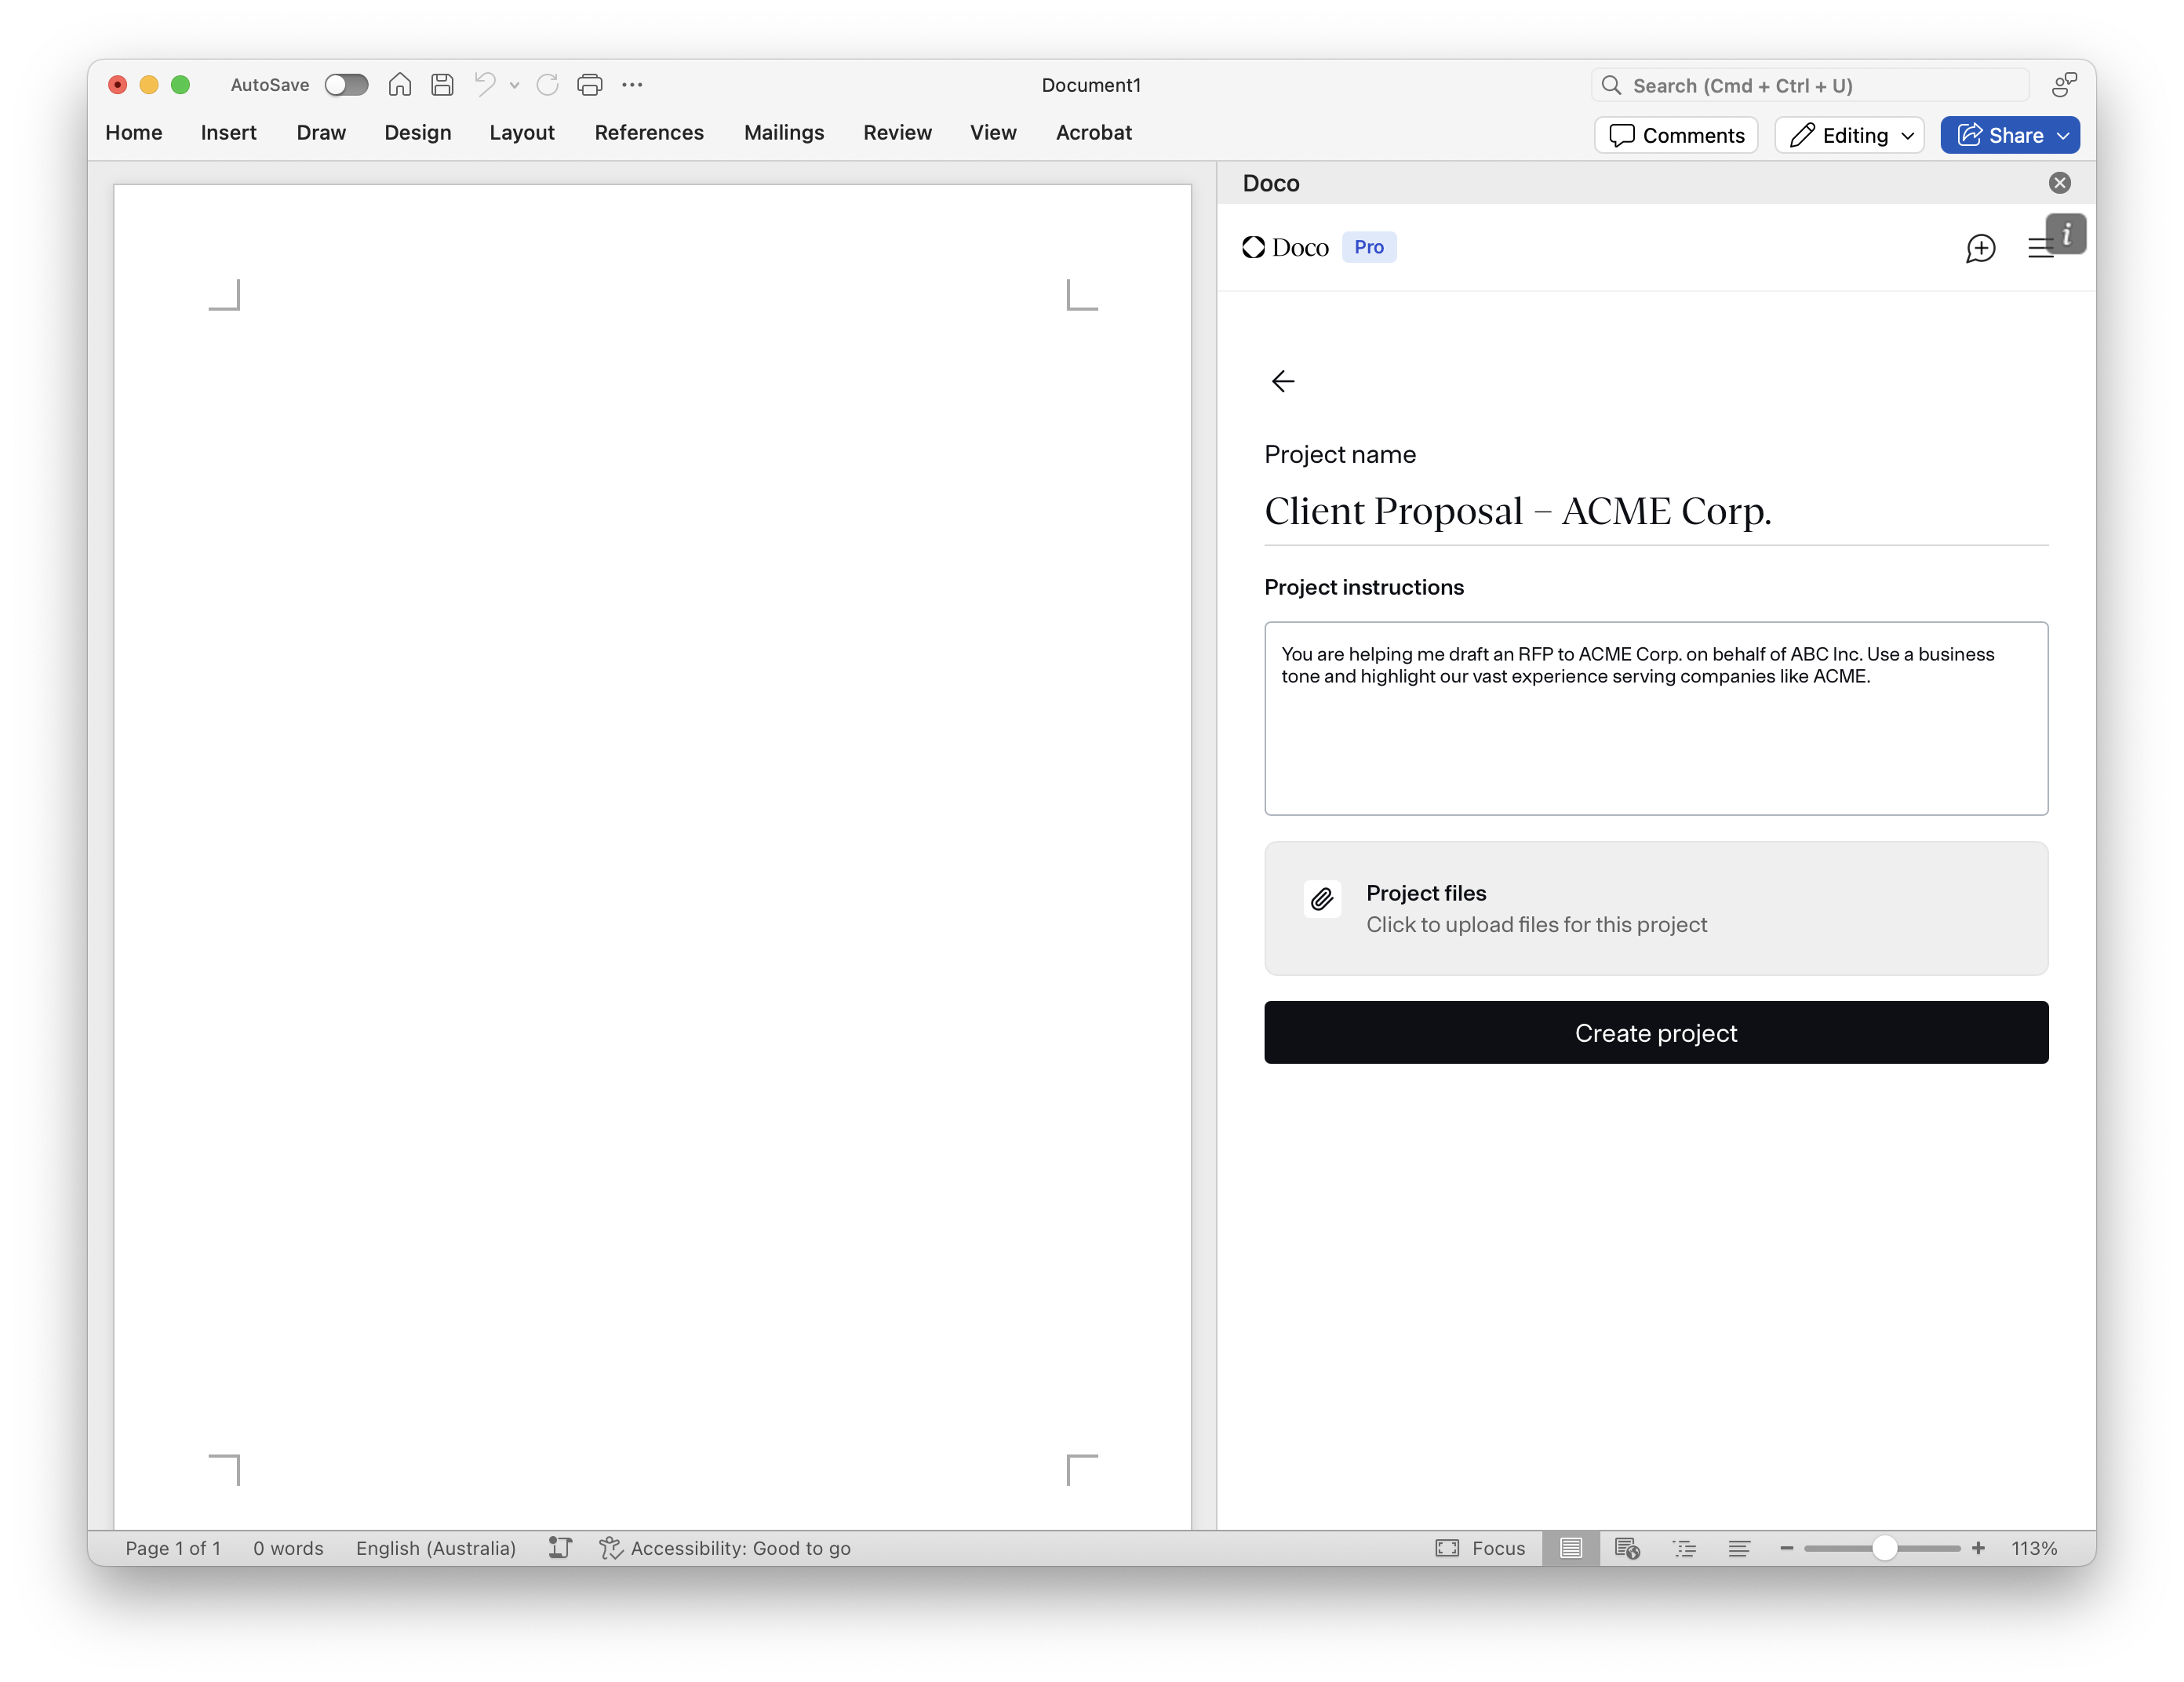
Name your project clearly (e.g., “Client Proposal – ACME Corp.”).
-
Set custom instructions, such as:
- “You are helping me draft an RFP to ACME Corp. on behalf of ABC Inc. Use a business tone and highlight our vast experience serving companies like ACME.”
- “You are helping me, the Legal counsel of ACME corp., review draft legal employment letters. Use the attached reference letters as templates.”
-
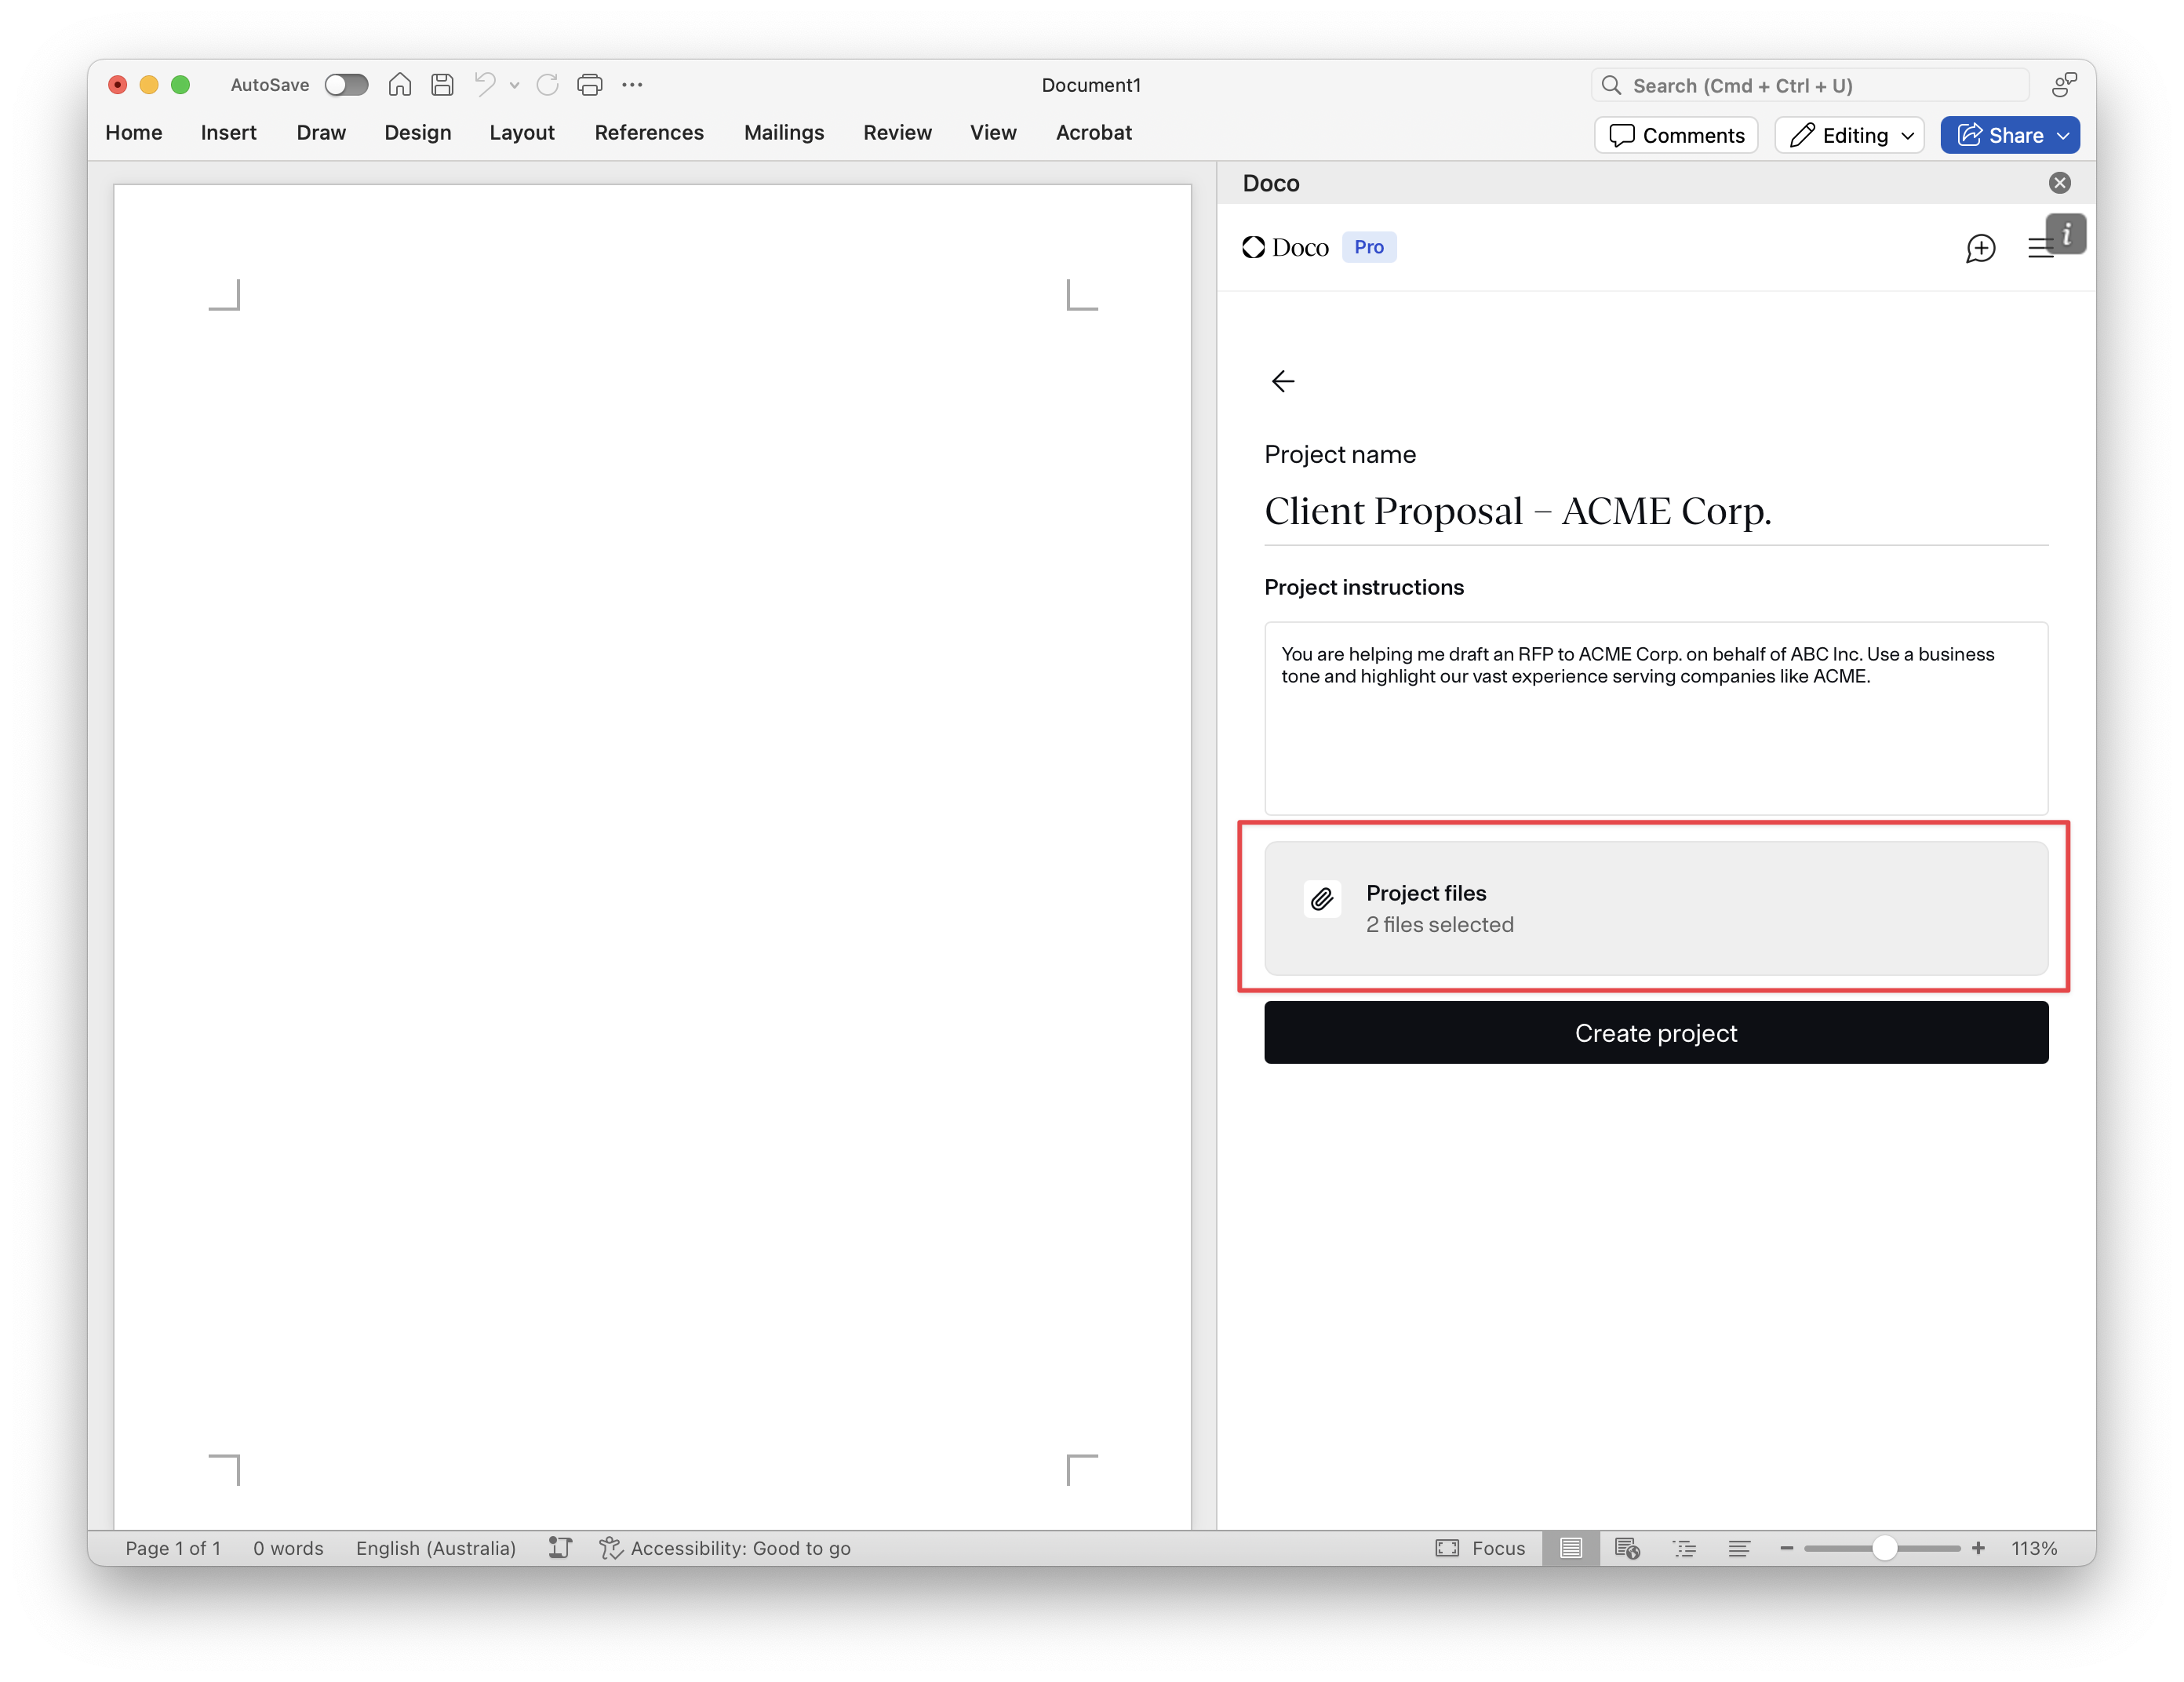
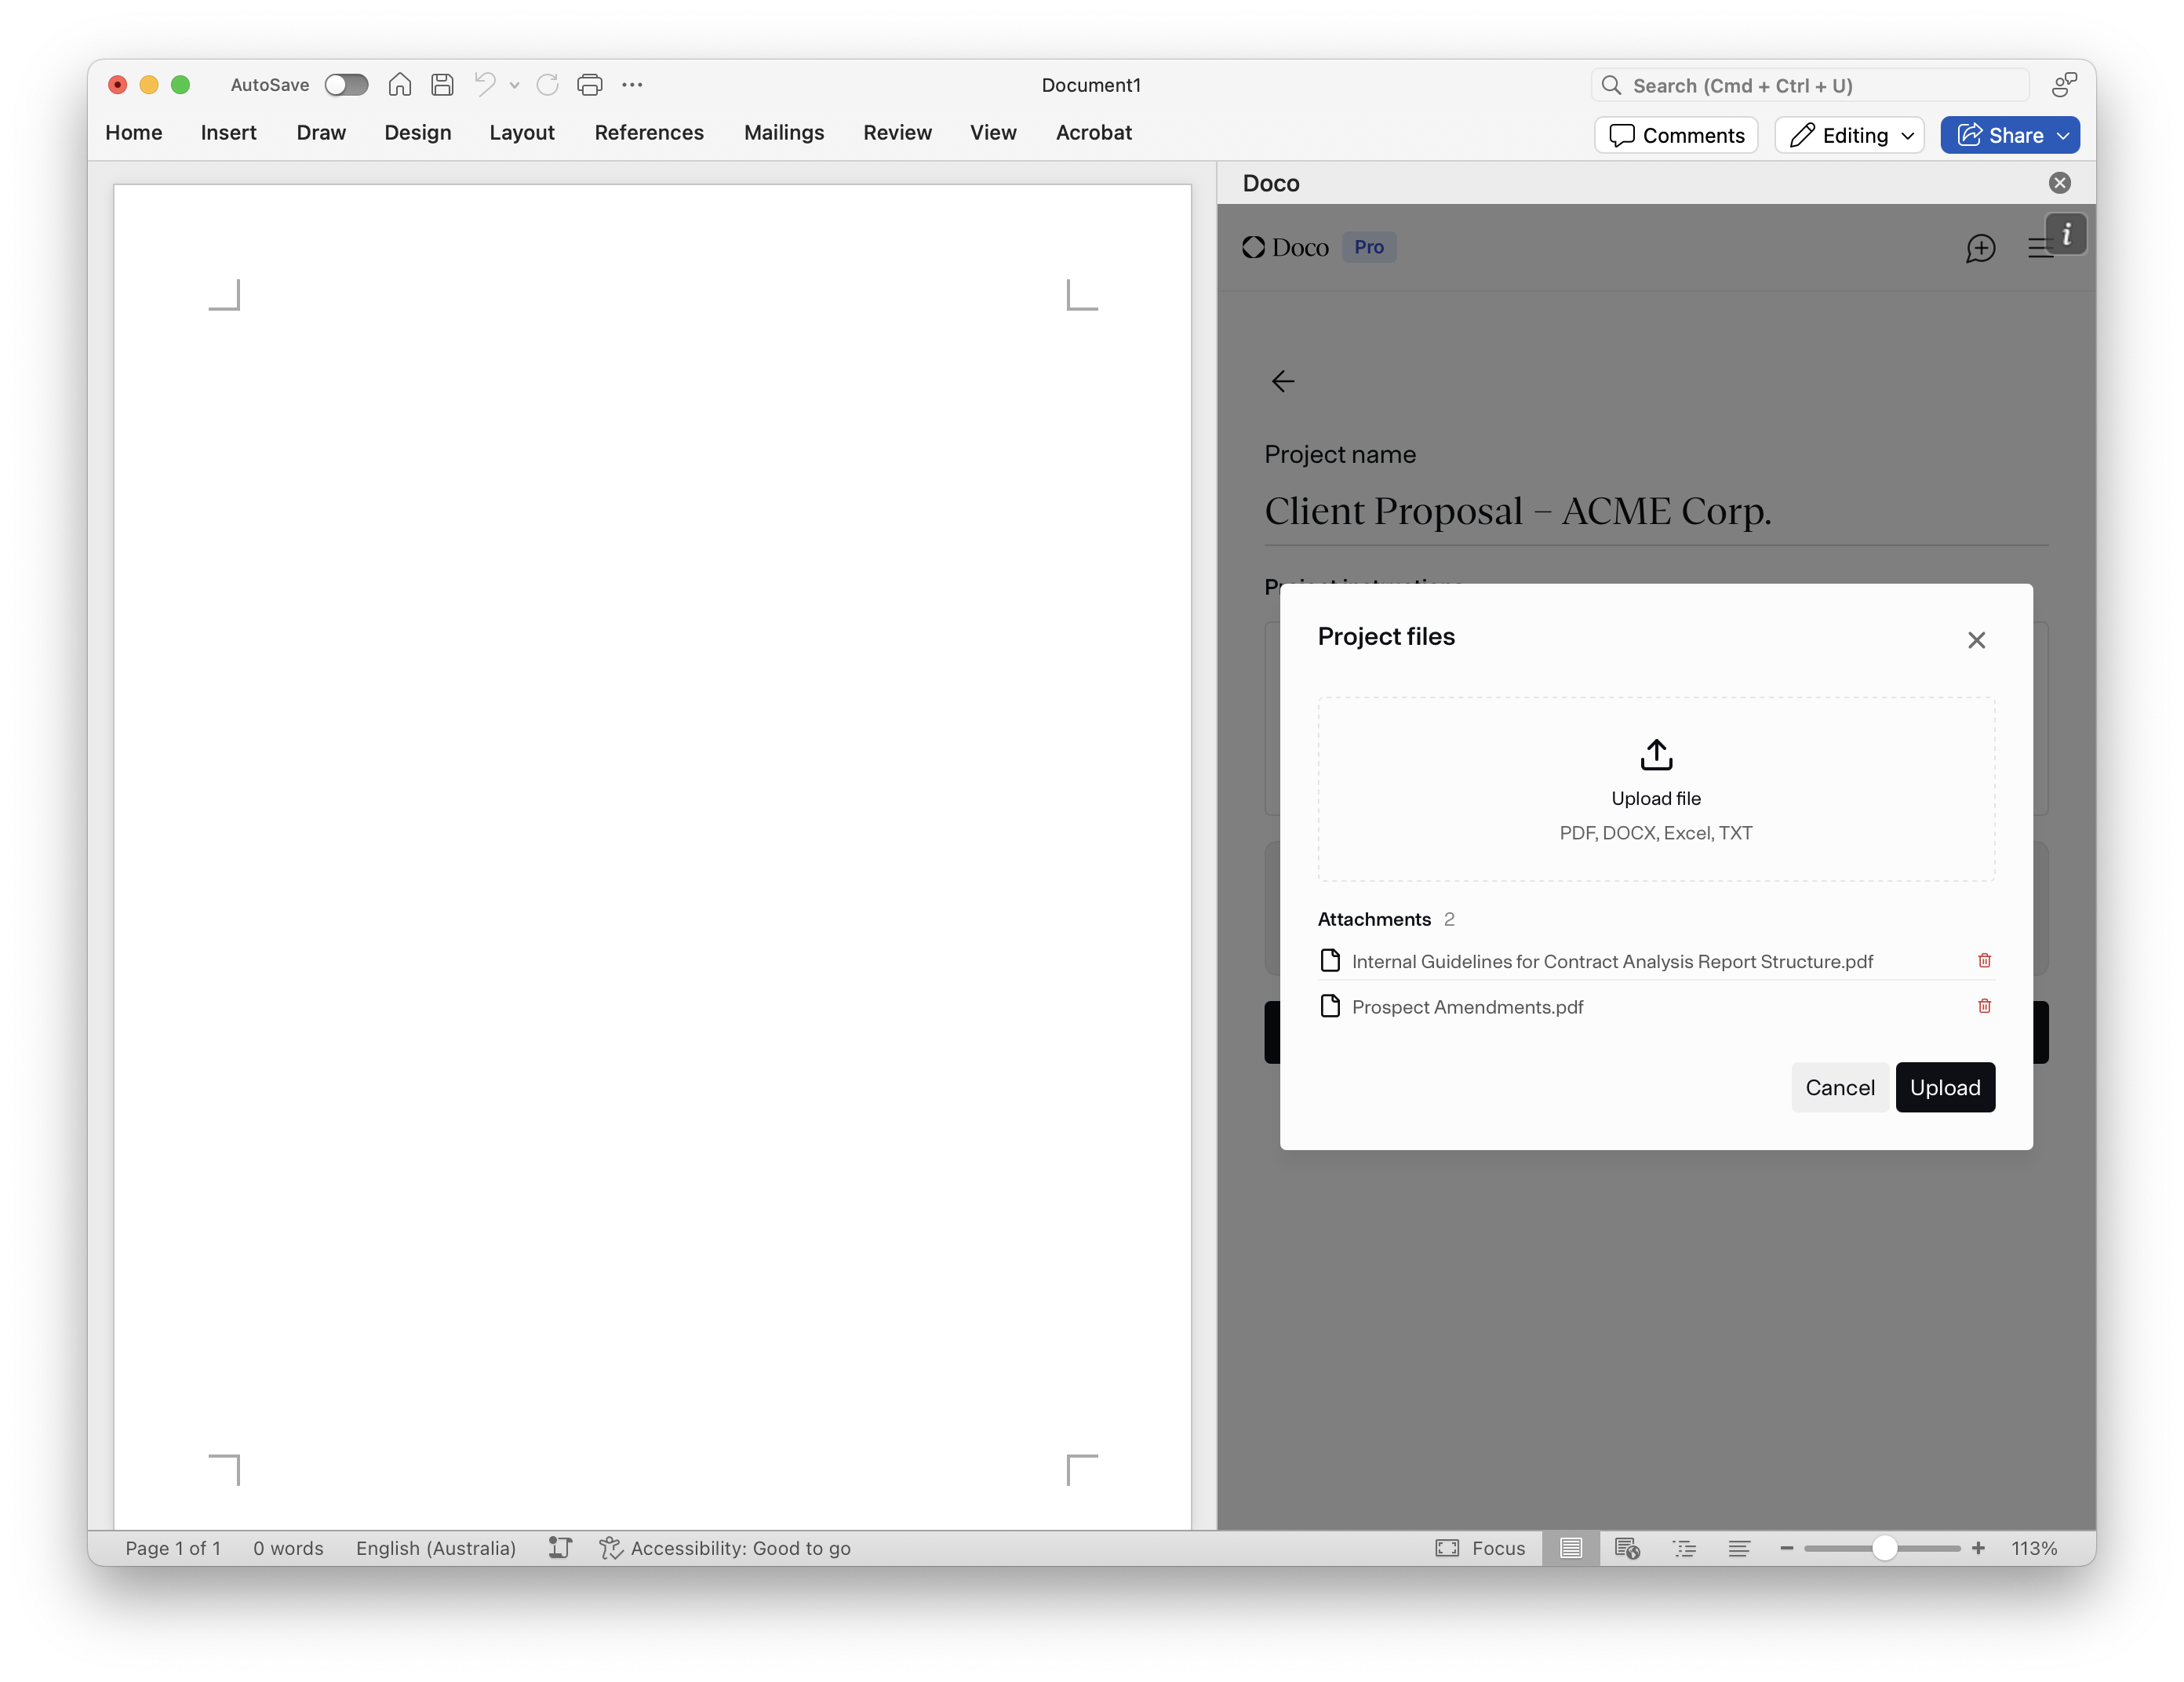
Upload relevant documents:
Please upload any material you’d like your assistant have access to in order to best answer your questions.
- Background materials
- Internal templates
- Past work samples
-
Click Create to launch the project. You’ll now be in a context-aware chat environment.
What happens under the hood
- The assistant uses your uploaded documents and instructions to personalize its replies.
- You can still reference files with
@, but it will now also “remember” the context without needing repeated explanation.